Creating an interactive project simulating the operation of the product
Prototyping, which we can also call mockups creating, is the initial stage of the project’s creative process. Regardless of whether we design a web application, mobile app or website – creating a prototype involves good planning and analyzing of all elements of the project. What does good mean? First of all, based on the collected data on the target group, because our product must be intuitive and make users will come back to it with pleasure. Why is prototyping important? Thanks to it, we are able to verify the compliance of our concept with the assumptions, get rid of errors at an early stage of website preparation, as well as visualize and present the basic operation of the product before programming. The process that I will describe in this article combines engineering and cognitive psychology.
At NubiSoft, we use many tools. It is worth pointing out that a few products should be used to design a full product, however, discussing the prototyping process I will focus only on one of the most popular programs – Adobe XD.
It’s a tool developed by Adobe Inc., compatible with other company platforms (e.g. Photoshop, InDesign, Illustrator). Currently in version 14.0 and is available for free from the official Adobe website. Thanks to this program, we can quickly prepare lo-fi/hi-fi wireframes and interactive prototypes.

Interface prototyping really begins when we talk to the client and the rest of the team we’re working on. The first task from which we start work should be a discussion, because to be able to successfully deal with the next stages we need some fundamental information. They can be more or less precise, and their number often depends on the type of project and the client’s needs. Indisputable foundations are understanding the goal to be implemented by our product and learning about the receiving group – its predispositions, habits and level of technological advancement.
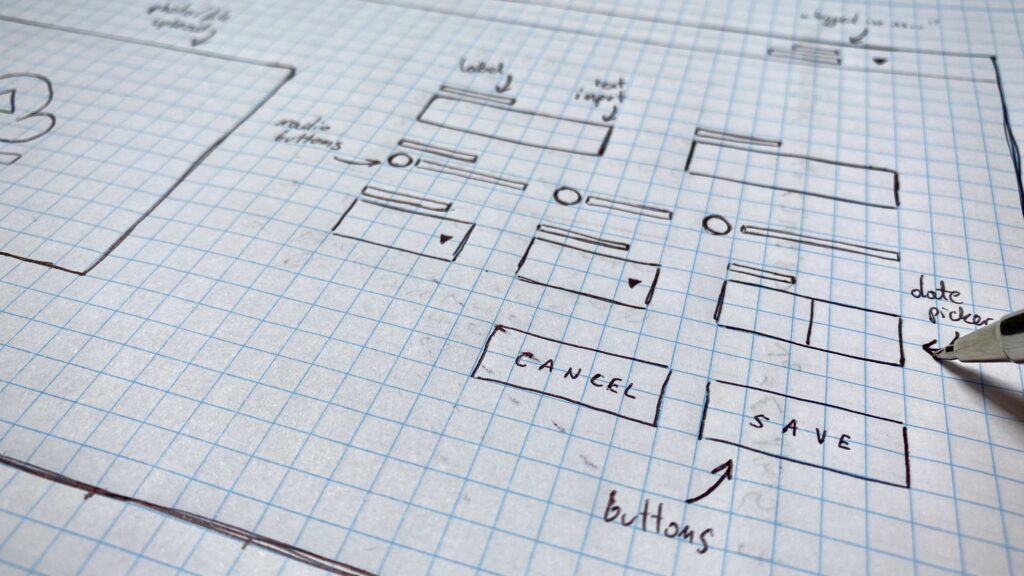
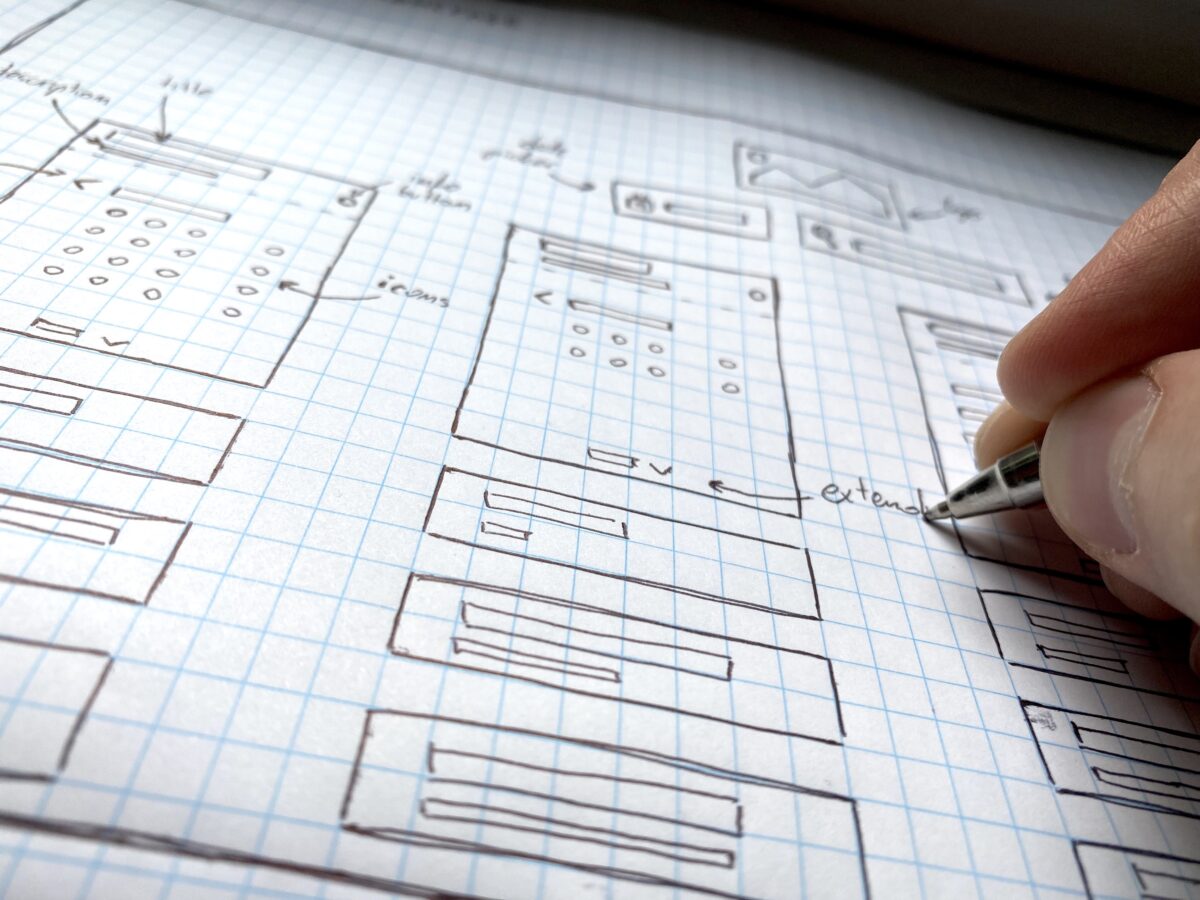
After collecting the necessary information, we go to the next stage, namely to create wireframes or mockups – both names mean the same thing. There are two types of wireframes: low fidelity (lo-fi) and high-fidelity (hi-fi). The differences between them are best illustrated by the photo below, and the type we choose during this stage can be conditioned by the amount of time we have.
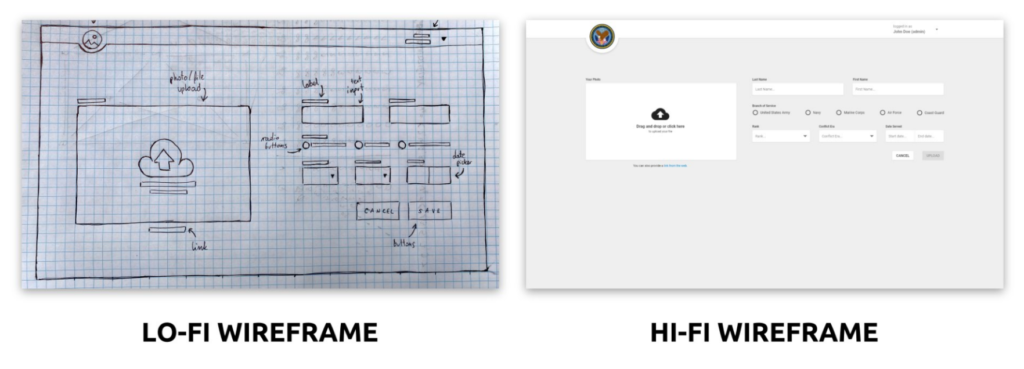
Lo-fi wireframes can be a sketch on a piece of paper or created directly in the selected tool – in our case in Adobe XD. After completing all the mockups, we should present the whole thing to the rest of the team and the client – may be at this stage we will be able to notice things to repair. The next step will be to transform our lo-fi wireframes into hi-fi (unless we started designing immediately from hi-fi). Hi-fi models are much more detailed and should reflect the final product design as closely as possible. In achieving this effect, we will be helped by a number of tools offered by Adobe XD, from simple shape creation and text input to more advanced creation of own assets and components. To be able to proceed to create a prototype, you must design all the functions that you want to present, and thus – all related views.
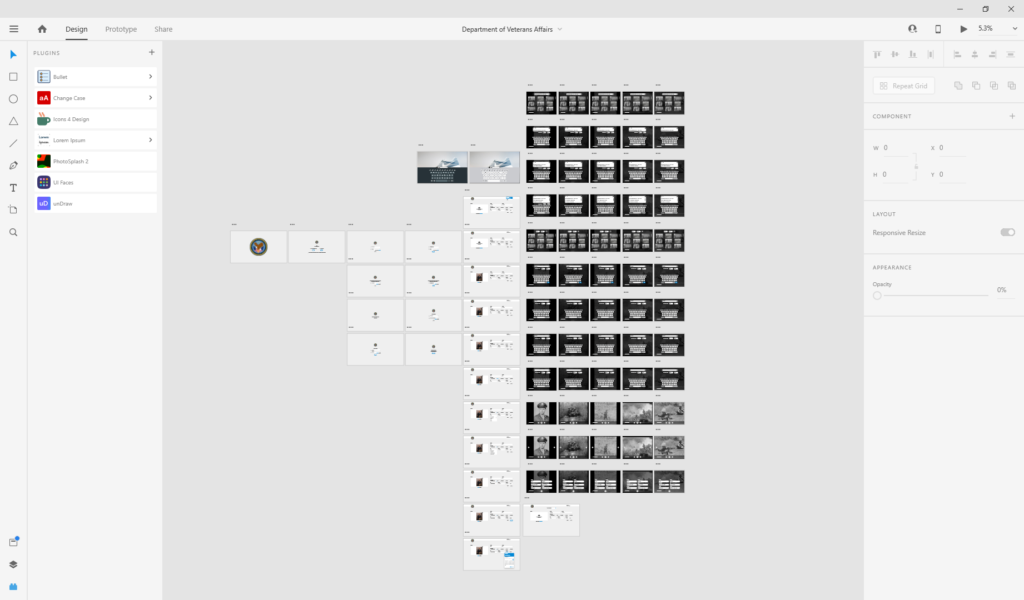
Having all the mockups designed, we can finally move on to prototyping, which in Adobe XD seems not to be complicated. While working on the design of the product, we were in Design mode, while to start creating a prototype we have to switch to Prototype mode. Here we see our mock-ups and we can connect them together, just select an element or group of elements to be interactive, click on it, and then drag the blue marker to attach it to the appropriate screen.
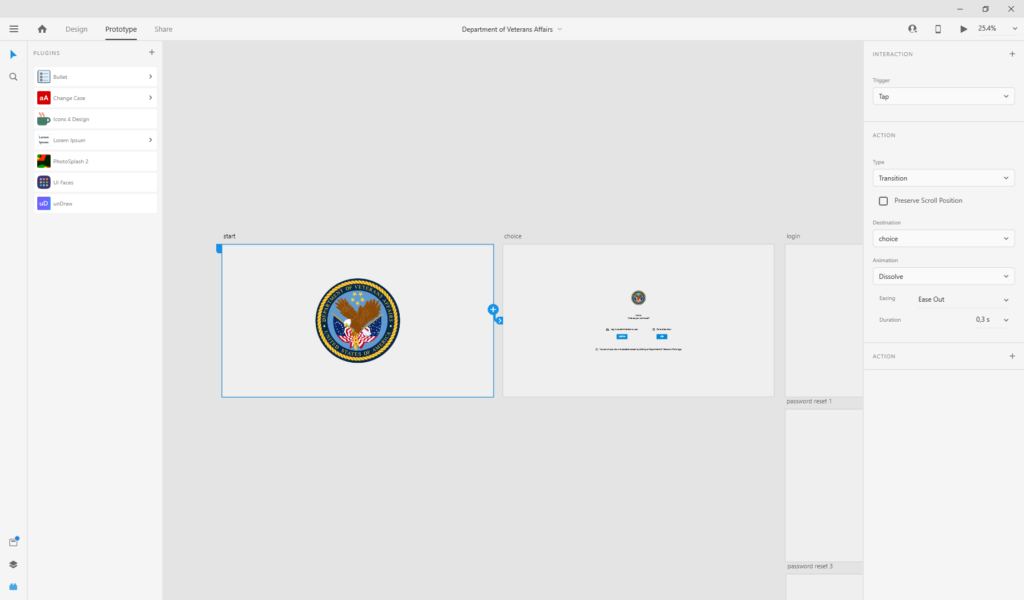
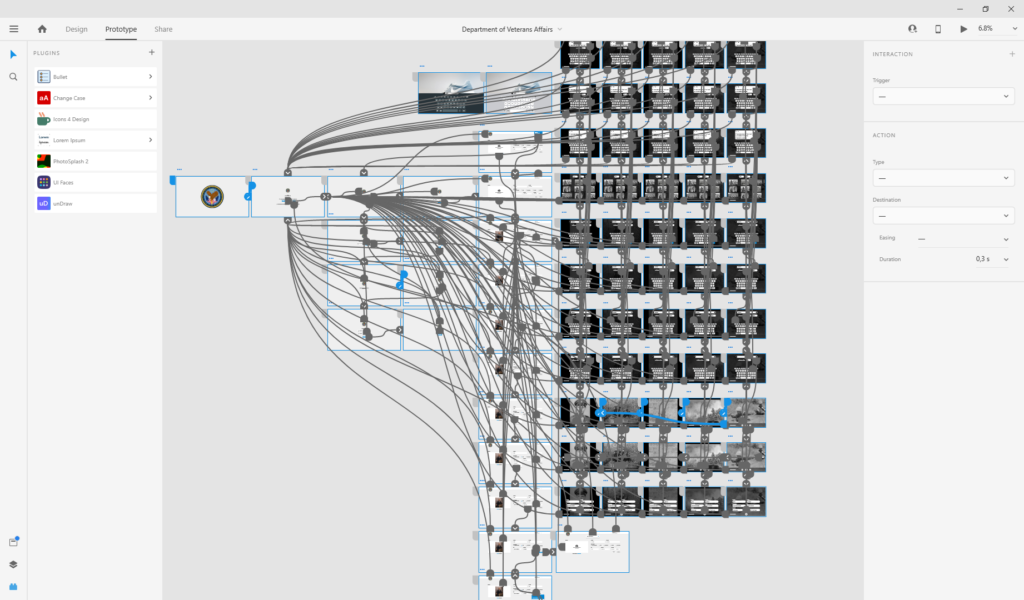
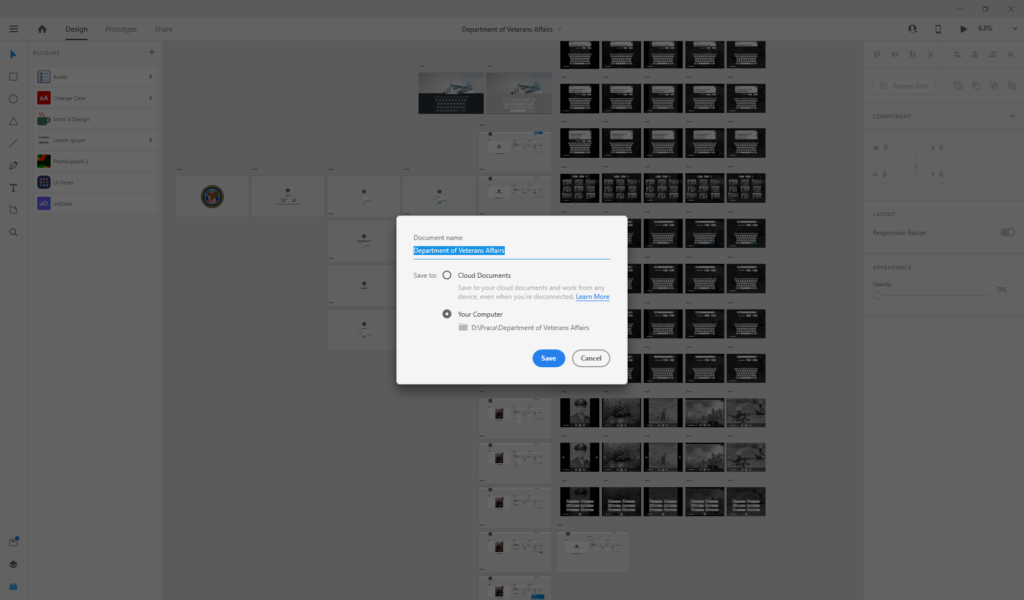
This action must be repeated for each case we designed. The prototype can be tested at any time to see if it works correctly and if something is missing. Finally, just save the whole thing – locally or in the cloud.
It remains for us to share our work with a client who probably doesn’t have Adobe XD installed. There are several ways.
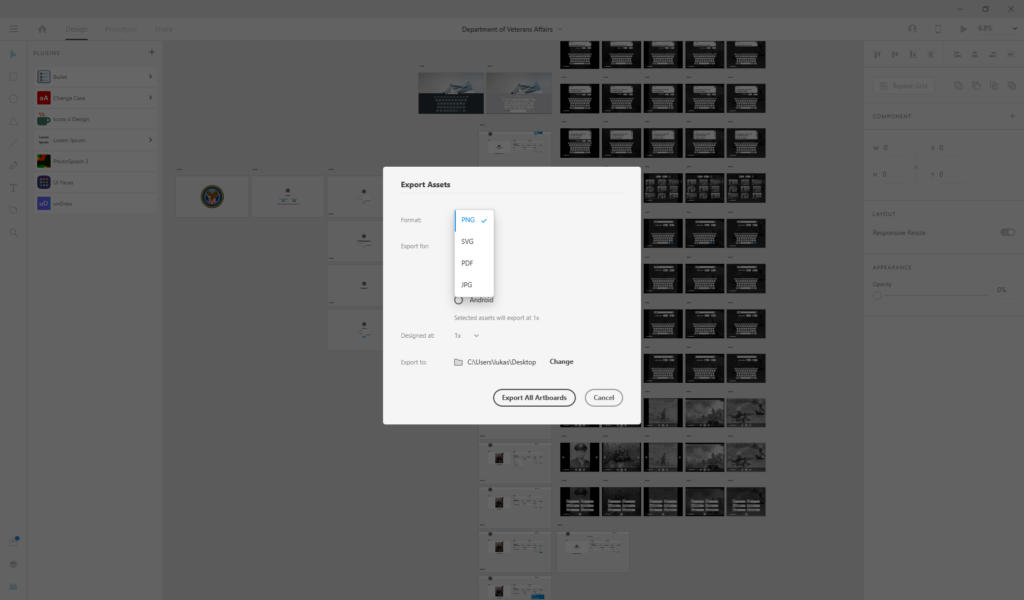
- If we only care about static graphic files, we can export the entire project or selected mockups to one of the supported formats – JPEG, PNG, SVG, or PDF.
- If we are interested in presenting a prototype without interacting with the customer, we can record and export the movie in MP4 format.
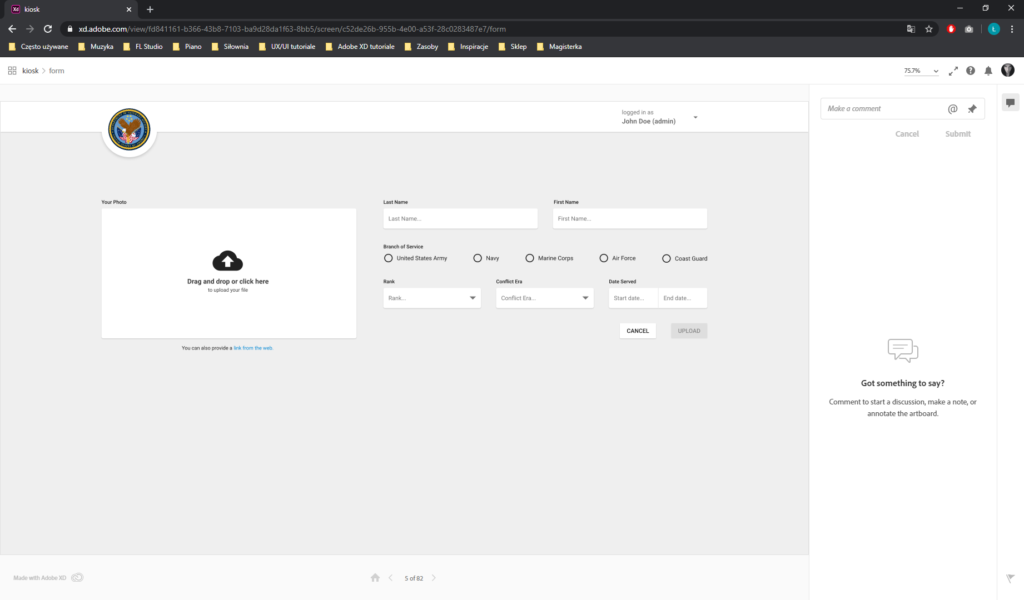
- If we want the client not only to be able to see but also use a prototype of his product, there is a possibility to generate and share a link to our work. In this case, the person with the link (password-protected or not) will be able to freely navigate the uneditable prototype using a web browser.
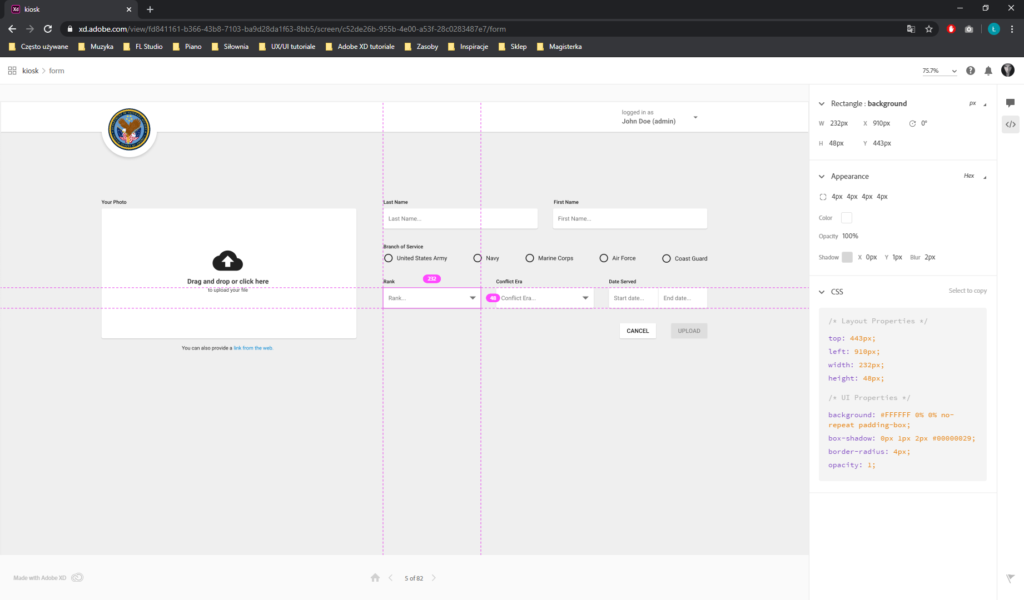
Adobe XD has one more sharing option, ideally suited to sharing with a team that will implement a product. Namely, we can generate a link to a prototype supplemented with a design specification. This means that developers can view our project and obtain data such as used colors, fonts, distances between elements or effects values, e.g. shadows. In addition, they also get access to our assets and CSS code snippets.
And that’s it – our prototype is ready and we have to wait for feedback. I hope you have seen how important prototyping is and that designing seems seemingly simple – in fact, it is much more complicated. In addition to economic values, there are also aesthetic values – presenting our project in the form of a prototype will certainly make a better impression than static graphics, and our work will be evaluated as very professional.