In this post, we will show you how to configure your Ubuntu GPU EC2 instance in Amazon Web Services from start to finish so that you can perform Deep Learning tasks on it. At NubiSoft, we usually implement machine learning with less popular cloud service providers, because AWS is not the cheapest, and the learning process itself usually only requires a lot of computing power, but the availability of the system or the geographic location of calculations are of less importance here. Only when we obtain a trained model that we want to deploy to production (i.e. carry out inferencing), the latter factors become more important. But it so happened that the customer who uses AWS exclusively asked us to deploy his Deep Learning stack there. So here we go!
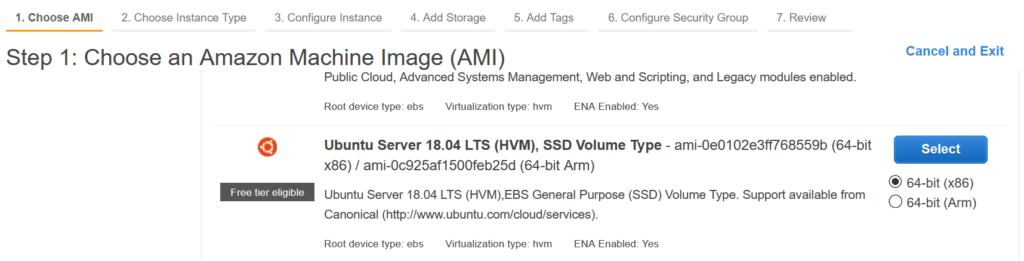
First, the new EC2 instance should be provisioned. This can be done using awscli, CloudFormation, Terraform, and others but the most illustrative will be to do that with AWS console using the lunch instance option, where we choose the plain Ubuntu 18.04 LTS AMI:
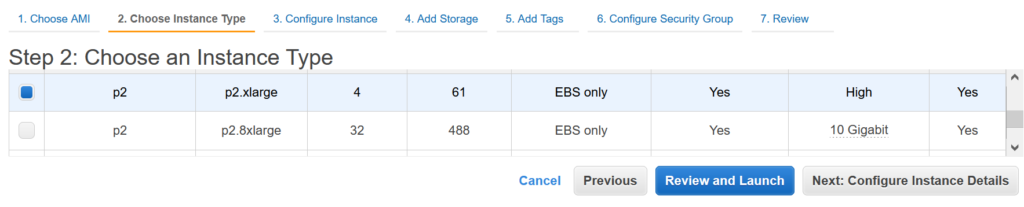
This tutorial is based on the P2 GPU instance type, so it has to be chosen as follow (if you prefer you can even choose a p2 instance with more computing capacity):
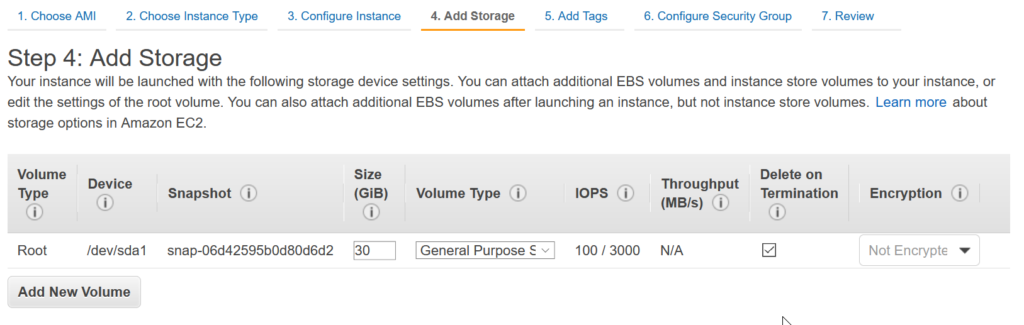
Adjust the disk volume to the needs of your computation profile – e.g. Deep Learning related to image classification would probably require a lot of free disk space:
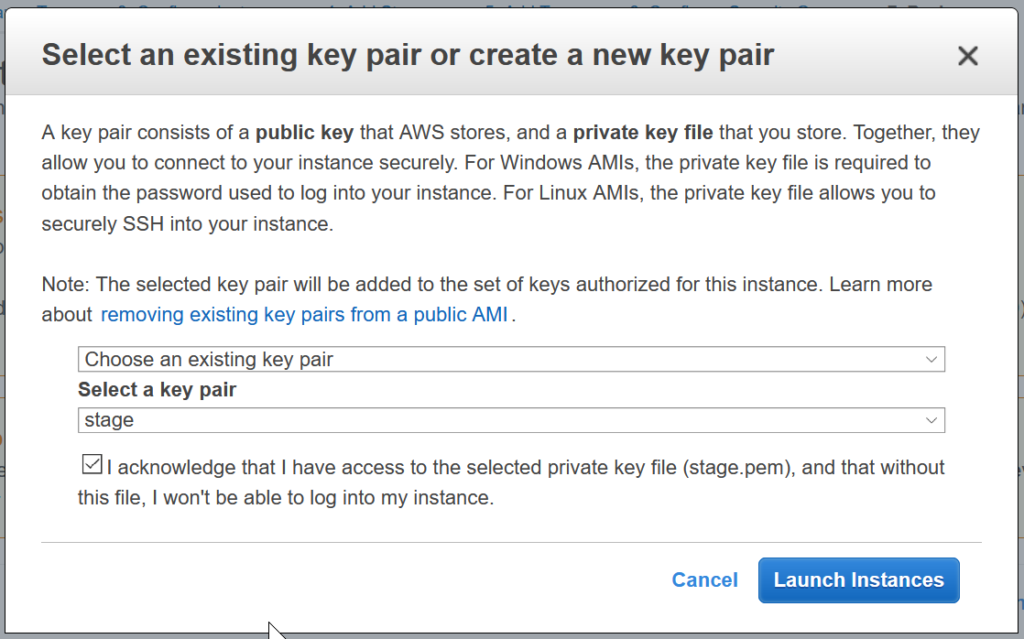
Finally, create the EC2 instance by choosing the SSH access key and pressing the Launch Instances button:
Having SSH access to newly provisioned EC2 instance let’s start with the prayer of every Ubuntu lover 😉
sudo apt update
sudo apt upgrade
To install the Tesla device driver we will also need access to gcc:
sudo apt install gcc
Next, make sure that the kernel headers and development packages for the currently running kernel are up-to-date:
sudo apt install linux-headers-$(uname -r)
Ensure packages on the CUDA network repository have priority over the standard Canonical repository:
distribution=$(. /etc/os-release;echo $ID$VERSION_ID | sed -e 's/\.//g')
wget https://developer.download.nvidia.com/compute/cuda/repos/$distribution/x86_64/cuda-$distribution.pin
sudo mv cuda-$distribution.pin /etc/apt/preferences.d/cuda-repository-pin-600
Install the CUDA repository public GPG key:
sudo apt-key adv --fetch-keys https://developer.download.nvidia.com/compute/cuda/repos/$distribution/x86_64/7fa2af80.pub
Setup the CUDA network repository:
echo "deb http://developer.download.nvidia.com/compute/cuda/repos/$distribution/x86_64 /" | sudo tee /etc/apt/sources.list.d/cuda.list
Update the APT repository cache and install the driver using the cuda-drivers meta-package. The –no-install-recommends option can be used for a lean driver install without any dependencies on X packages. This is particularly useful for headless installations on cloud instances with modest HDD resources.
sudo apt update
sudo apt -y install cuda-drivers
.. and five minutes later we are ready to start post-installation steps. First, some paths need to be added – we can do that permanently modifying .bashrc file by extending it with two lines:
nano ~/.bashrc

export PATH=/usr/local/cuda-11.2/bin${PATH:+:NULL}
export LD_LIBRARY_PATH=/usr/local/cuda-11.2/lib64${LD_LIBRARY_PATH:+:NULL}
Save the file and load the new path into the current shell session using the source command:
source ~/.bashrc
Verify that the driver is loaded and check its version:
cat /proc/driver/nvidia/version
Now, we are ready to deploy the rest of the PyTorch deep learning stack – we will cover it in the subsequent post.